Seminar on how to directly label your primary antibodies: Skip the secondary, part 3!

The LCI will host a seminar about GlyCLICK, a new way to directly label primary antibodies and stop using secondaries: 6th of November at 13:00 in the Lipid seminar room in Neo, KI Flemingsberg. The seminar will be broadcasted live. Here is how to find us and here how to follow the seminar online.

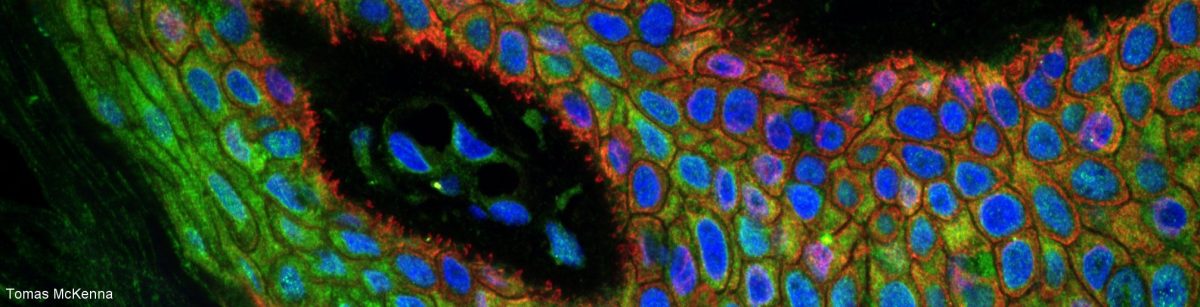
Everyone agrees that it would be great to be able to label our samples without using secondary antibodies.

  • less animals killed
  • shorter and cheaper protocols
  • no problem with isotype cross-reaction
  • no problem with secondary species when using many antibodies at once

There are many kits to label primary antibodies directly with fluorophores. The main disadvantage compared to primary/secondary stainings is that direct labels are often weaker because the final primary/fluorophore ratio is too low. Using an amplification method like TSA (Tyramide Signal Amplification) leads to a loss of resolution.

Over the years users at the LCI have tried this kit, this kit and this one. They gave mixed results depending on the antibody but we keep looking! Come to the LCI seminar about a new direct labelling technique that uses Click chemistry.

How to precisely measure the volume of a cell?

Measuring the volume of a cell is often done by labelling the cell membrane or its cytoplasm. Analysing large flat cells this way is easy but it is much harder for tiny cells like blood cells, yeast or bacteria.

Another way to measure volumes is to use a negative stain, i.e. where the medium is made fluorescent with a dye that does not go into the cell. The cell appears as a black hole in fluorescent images and unlike lipid-based membrane labelling, borders are even and easy to segment.

While many dyes can be used for live cells, one must choose large dyes when negatively imaging cells that have been fixed and permeabilized.

This paper and this one use high molecular weight (2000 KDa) Dextran to achieve these results and measure the size of bacteria.

This recent paper optimizes the technique.


Free genetic and image analysis tools

Here are a few image analysis tools (constructs for FRET, software…) that might be useful to you.

  • Construct for fluorescence biosensors and optogenetic tools
  • Free Image analysis software

http://www.hahnlab.com/tools/index.html

  • Free Image analysis software

https://www.utsouthwestern.edu/labs/danuser/software/

  • Free Image analysis software

http://cismm.web.unc.edu/

Deep red fluorescent proteins

The microscopy field is moving away from blue dyes. This is because red light, used to excited far red and deep red fluorophores, is less damaging to live cells than near UV light which is used to excite blue fluorophores.

On top of that, red light penetrates deeper into thick samples.

So as the trend in microscopy is to move to thicker samples and use more live samples, far red and deep red fluorophores are becoming more attractive.

Here is an article describing 3 new fluorescent protein in the far red to deep red range. One can excite them with 640 nm or a 685 nm lasers or LEDs.

LCI product seminar: How to label organelles in live cells?

On Wednesday (13th) at 9:30 in Lipid seminar room in Neo (KI Flemingsberg), please come and enjoy a short seminar presenting a new way to label organelles in live cells.

LabLife will present their product called Viromer Cytostain.

We will stream the seminar live so you can follow it even from your desk! 🙂

Are there brighter versions of GFP or RFP out there?

Have you ever heard about Superfolded GFP? It is 50% brighter than GFP! And mScarlet is almost 6 times brighter than mRFP! How do I know? I look at this fantastic database called FPBase.

You can see which fluorescent protein is monomeric, sort them by excitation and emission or find which bleaches least or maturates fastest! Great tool! 🙂

Fluorophores are constantly being developed. If you make a new plasmid, make sure you check that the one your lab has been using for trillions of years is the very best one!

Skip the secondary, Part 2! :)

In one of the LCI earlier posts, you can read about easy and powerful it is to skip using a secondary antibody while still having a bright signal.

We have not had any feedback on the Kromnigon technology but we got to hear great praise and see superb images of a similar product called Mix-n-Stain by Biotium.

You can now directly label your stock of primary or favorite tag ligand (Snap, Clip, Halo, TMP) in just 30 min! Each primary gets 3-5 fluorophores according to the Mix-n-Stain brochure  so there is no problem with dim directly labelled antibodies as used to be the case in older labeling technologies.

Skipping the secondary means gaining time but also no more headache about matching antibody and tissue species so you can stain your tissue with 7 or 8 antibodies if you image with narrow filters or spectral unmixing.

Bye bye ‘No primary’ controls! It is high time to switch to an isotype control: buy an antibody with the same isotype as your favorite antibody and label it in the same way. This allows you to detect any aspecific binding of your primary antibody.

Last but not least, skipping the secondary means less animals used to produce them. That alone is a bit plus!

It costs 100€ or so to label 50 ug of antibody. Definitely worth a try! 🙂

Skip the secondary! :)

Kromnigon makes fluorescent labels called FlexiStain that stick to biotin-labelled primary antibodies.

This means that you skip the species matching headache when using multiple antibodies and your labeling is faster! I have not tried myself but they offer free trial kits so give it a try! You are welcome to leave comments on this posts to tell us if it works or not! 🙂

Note: We have not had very good experience with these dyes. Check this post instead.

DAPI is so passé!! ;)

If you are tired of DAPI bleeding through your weak green channel but are stuck to using blue for the nucleus, you might want to give a try to Syto41.

Must better excitation efficiency at 405 nm and much narrower emission spectrum!

And Syto also comes in other colors. 🙂

Brilliant violet dyes

Those who work with FACS might be aware of the very bright dyes called Brilliant Violet. They can also be used in microscopy. 🙂

BV dyes are all excited around 400 nm (same as blue dyes) but they can emit at much longer wavelengths, like red or far red. This means that if they are used together, they are excited at the same time and the colors are only separated based on the emission! But these dyes are very bright which is a great advantage.

Et voilà! 🙂

Follow us! :-)

Type your email address below to subscribe to our blog!