Glyoxal instead of PFA

Poor PFA fixation often causes trouble in antibody staining. Folded cells, poorly preserved cytoskeleton… These artifacts appear when the stock of PFA gets older and degrades. Buying ready made PFA solutions, most of which contain 10-15% of methanol, can also lead to low labelling with some antibodies.

Glyoxal seems to be a good alternative. It had the added advantage that it is less toxic.

Check this article to know more. 🙂


Silicon wells

If you want to image a large piece of tissue, it is sometimes difficult to get it to stay still in a dish while you are imaging it, especially if you have medium on top.

One nice way is to make a silicon well around it, fill the well with medium then add a coverslip on top. This allow you to keep your sample for a long time.

Twinsil by Picodent works nicely. 🙂

A beginner’s guide to tissue clearing

Someone telling you where to start your clearing experiments! Sounds like a dream paper, doesn’t it? 😉

Here is the link.

Omnipaque: a pre-made Histodenz solution for clearing

Buying Histodenz powder from Sigma is rather expensive. Alternatively, you can buy Omnipaque from GE Healthcare. It is the same product but comes as a solution and costs around 2000 sek for 10 bottles of 350 mL!

A fixable membrane dye that doesn’t do flip flop!

One of the major pains with membrane dyes for live cells is that within 30min, all the vesicles inside the cells are also labelled. Another major pain is when you discover that your dye is not fixable…

The CellBright dyes label membrane is apparently fixable, even with methanol, and doesn’t do the flip flop thing! Potentially extremely useful for image analysis!

Please leave a comment to let us know how it went for you! 🙂

Skip the secondary, Part 2! :)

In one of the LCI earlier posts, you can read about easy and powerful it is to skip using a secondary antibody while still having a bright signal.

We have not had any feedback on the Kromnigon technology but we got to hear great praise and see superb images of a similar product called Mix-n-Stain by Biotium.

You can now directly label your stock of primary or favorite tag ligand (Snap, Clip, Halo, TMP) in just 30 min! Each primary gets 3-5 fluorophores according to the Mix-n-Stain brochure  so there is no problem with dim directly labelled antibodies as used to be the case in older labeling technologies.

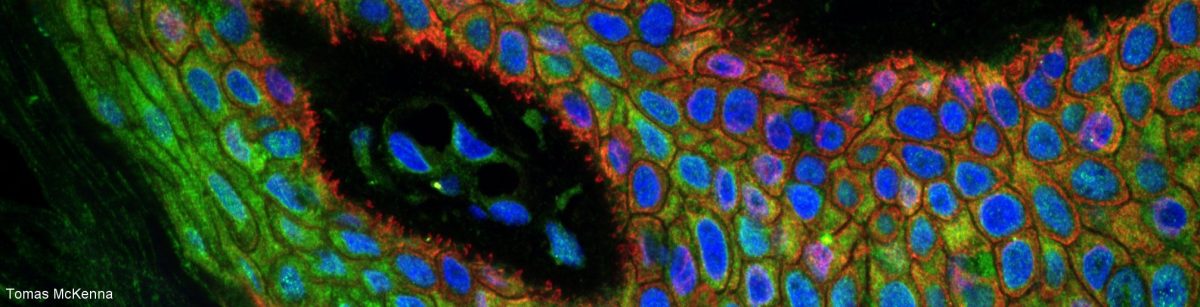
Skipping the secondary means gaining time but also no more headache about matching antibody and tissue species so you can stain your tissue with 7 or 8 antibodies if you image with narrow filters or spectral unmixing.

Bye bye ‘No primary’ controls! It is high time to switch to an isotype control: buy an antibody with the same isotype as your favorite antibody and label it in the same way. This allows you to detect any aspecific binding of your primary antibody.

Last but not least, skipping the secondary means less animals used to produce them. That alone is a bit plus!

It costs 100€ or so to label 50 ug of antibody. Definitely worth a try! 🙂

Gluing samples

If your sample floats in its dish and you are desperate to image it, here is a good tip:

Vetbond is a good place to start! Glues super fast and is compatible with live cell imaging! 🙂

There are plenty of other similar products so please leave a comment to tell us if this works for you or not or which is your favorite tissue glue!

Skip the secondary! :)

Kromnigon makes fluorescent labels called FlexiStain that stick to biotin-labelled primary antibodies.

This means that you skip the species matching headache when using multiple antibodies and your labeling is faster! I have not tried myself but they offer free trial kits so give it a try! You are welcome to leave comments on this posts to tell us if it works or not! 🙂

Note: We have not had very good experience with these dyes. Check this post instead.

DAPI is so passé!! ;)

If you are tired of DAPI bleeding through your weak green channel but are stuck to using blue for the nucleus, you might want to give a try to Syto41.

Must better excitation efficiency at 405 nm and much narrower emission spectrum!

And Syto also comes in other colors. 🙂

Magic clarity :)

Remember that with passive clarity, you can make most tissues transparent in order to image them.

The challenge may be to get the antibody to penetrate fully if your tissue is very thick but clarity removes lipid so it also helps with antibody penetration. If your protein expresses a fluorescent protein, you skip this problem and clarity preserves fluorescence.

You can then mount your tissue and image it on our microscopes! 🙂 It’s magic!! 🙂

Follow us! :-)

Type your email address below to subscribe to our blog!